A static cling that falls off the window is almost never a defective cling. It is a surface problem, a temperature problem, or a technique problem, and all three are avoidable in a couple of minutes. Because a cling holds by surface contact rather than glue, the quality of that contact is everything, and the same physics that lets it come off cleanly also lets it fail if the glass is dirty or cold. This guide covers how to put one up so it stays, how to choose which side of the glass to mount it on, and how to store it so you can use it again next season.
Why Clings Fall Down
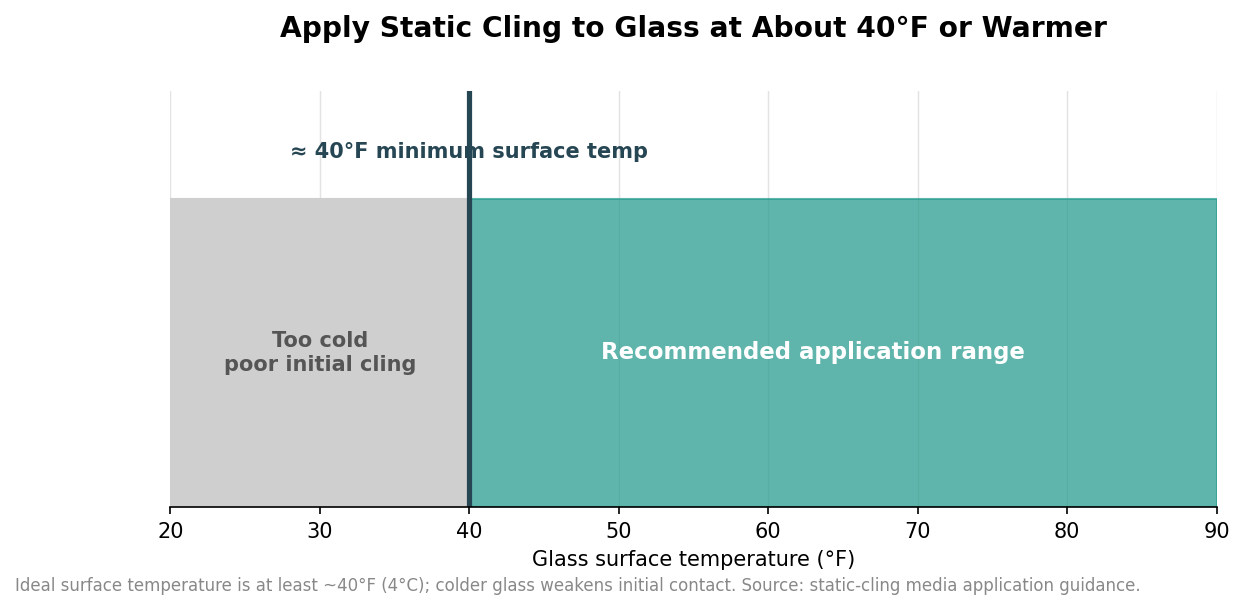
Three culprits account for most failures. The first is a dirty surface: dust, debris, oils, and fingerprints all break the microscopic contact the film needs, so a cling pressed onto a “clean-looking” but greasy window is already on its way down. The second is temperature: cold glass weakens the initial grip, and the usual guidance is to apply only when the surface is at least about 40°F. The third is the wrong surface entirely, because static cling works only on smooth, non-porous materials like glass and mirrors and will not hold on textured, painted, wooden, or rough surfaces no matter how carefully you apply it. Get those three right and the film does its job; ignore any one of them and no technique will save it. Film thickness plays a supporting role too: a heavier-gauge cling lies flatter and resists curling at the corners, while a very thin, cheap film is more prone to lifting edges, especially on a large graphic, so match the gauge to the size of the piece rather than defaulting to the thinnest option.
Prepping the Glass
The step almost everyone skips is the one that matters most. Start by degreasing the glass, then wipe it with a soap-and-water solution, rinse with clean water, and dry it with a lint-free cloth. Finish with a wipe of a 50/50 mix of isopropyl alcohol and water, which removes the last film of residue and flashes off without leaving streaks. Use a lint-free cloth rather than paper towel, which sheds fibers that end up trapped under the graphic as tiny bumps. This takes two minutes and is the difference between a cling that grabs on the first try and one that sags at the corners within a day.
Dry Versus Wet Application
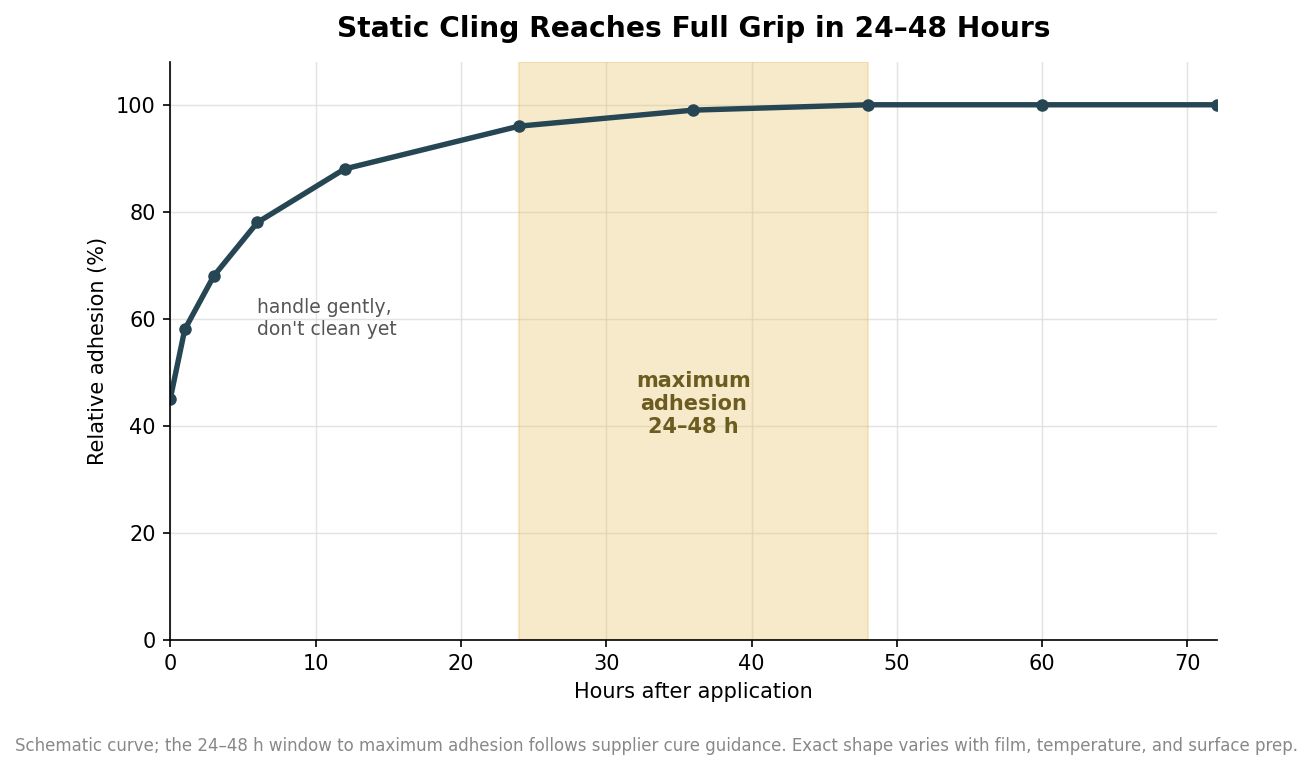
Before you start, have a squeegee or a flat plastic card wrapped in a soft cloth, a lint-free cloth, a spray bottle of water with a drop of soap for the wet method, and a pin for bubbles within reach, because stopping halfway to find a tool is how graphics end up crooked. For most small and medium clings, dry application is fastest. Position the graphic with at least a 1/8-inch gap from any window frame, peel about an inch of the backing from the top and crease it, then squeegee from the center outward while peeling the rest of the backing away a little at a time. Firm, overlapping strokes toward the edges push out air; any bubble that remains can be pricked with a pin and smoothed from the center out. For large graphics, or when you need room to slide the piece into exact position, the wet method helps: lightly mist the glass first, apply, then squeegee the water out from the middle and wipe the edges with the alcohol blend. Either way, expect the film to reach maximum adhesion over the next 24 to 48 hours, so resist cleaning or pressing on it during that window.
First Surface or Second Surface?
Decide early which side of the glass the cling goes on, because it changes how the artwork must be printed. First-surface mounting puts the cling on the same side as the viewer, which is the default for interior signage read from inside a room. Second-surface mounting places the cling on the inside of a storefront window so it is protected from weather and hands but read from the sidewalk through the glass; a graphic meant to be read that way has to be printed as a mirror image, or specified as a second-surface print on clear film, or the text comes out backward to the people it is aimed at. This is one of the most common and most expensive ordering mistakes, and it is trivial to avoid by telling the printer up front where the cling will live and which way it will be read.
Storing and Reusing Them
A well-made cling can survive many applications, sometimes across multiple seasons, but only if it is stored properly between uses. Keep it flat and lay it back on its original backing sheet or a piece of wax paper, then store it somewhere cool, dry, and out of direct sunlight and heat. The one thing that permanently ruins a cling is folding or bending it, which creases the film and leaves lines that never make full contact again, so roll it loosely at most and never crease it. When a stored cling seems to have lost its grip, it is usually just dust; wipe it gently with a damp cloth, let it and the glass dry fully, and press it up again from the center outward. Treated this way, a single set of holiday, sale, or seasonal clings can go up and come down year after year, which is much of the reason brands choose cling over adhesive vinyl in the first place.